First boot and the setup app
The Headless and Headless RT editions boot straight into a full-screen setup app, and the Desktop edition opens it for you at first sign-in. A person standing at the machine, with no way to VPN in, can bring it up from the screen: set the network ports, enroll the box in EmberNet, start or join a cluster, and check that everything is healthy. The screen runs in English and Spanish, and the Español button in the corner switches the language at any time.
The app has six screens, listed across the top: Network, EmberNet, Cluster, Real-time, Status, and Logs. Work through them in order on a new box. Real-time is only on Headless RT: Headless and Desktop have no real-time layer, so their app has five screens and no restart banner.
Install
On an x86_64 PC, download the ISO for your edition from the downloads, write it to a USB stick or attach it as virtual media, and boot the machine from it in UEFI mode. The boot menu counts down three seconds and then boots the hard disk, so a stick left in a machine never reinstalls it: choose Install within that time. The install is unattended, writes to the first disk, and restarts. Remove the medium when it restarts.
On a Raspberry Pi, there is no installer. Write the image to the boot card, put the card in the Pi, and power on. The first boot grows the root filesystem to the whole card, then starts the setup app. The steps, and which boot media work on which board, are on EmberRTOS on the Raspberry Pi.
On Headless RT the installed system starts the setup app with the real-time tuning already in effect.
The boot menu of the installed system is EmberNet's, and the splash follows it:
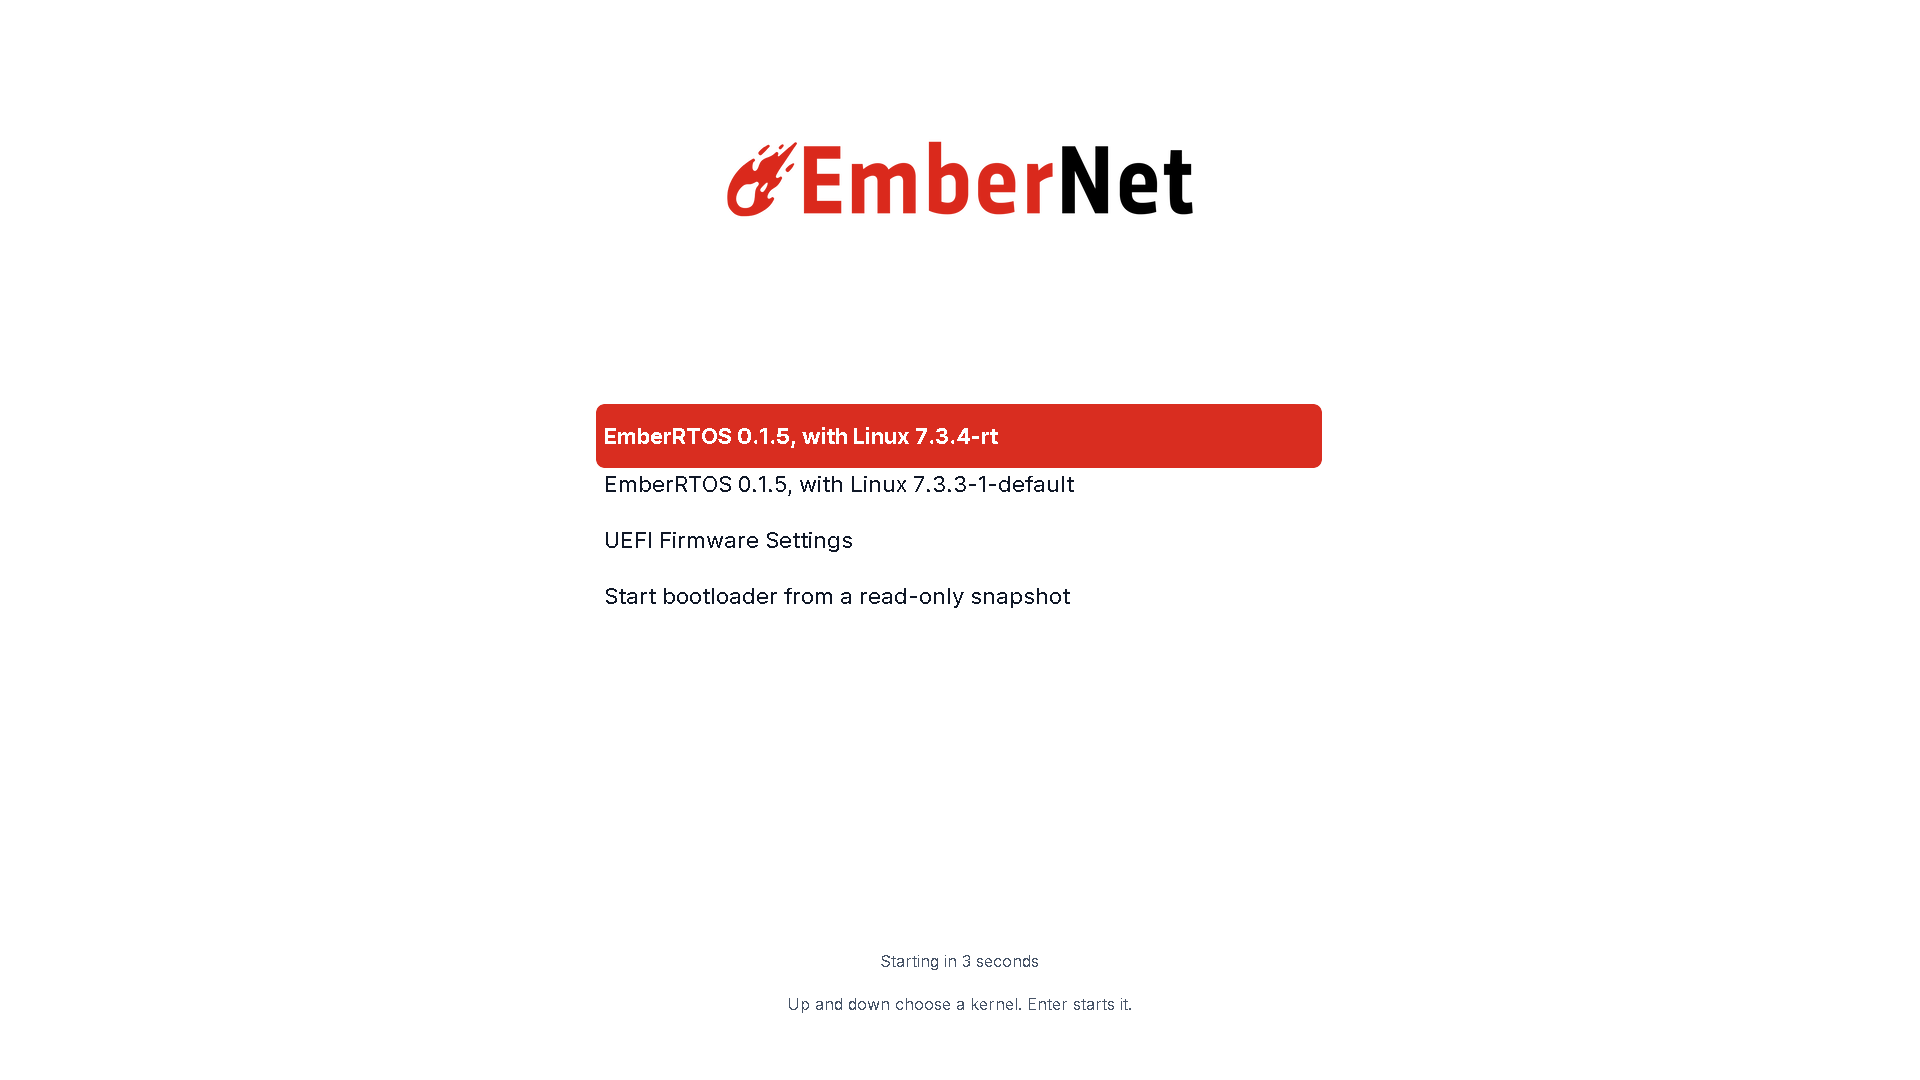
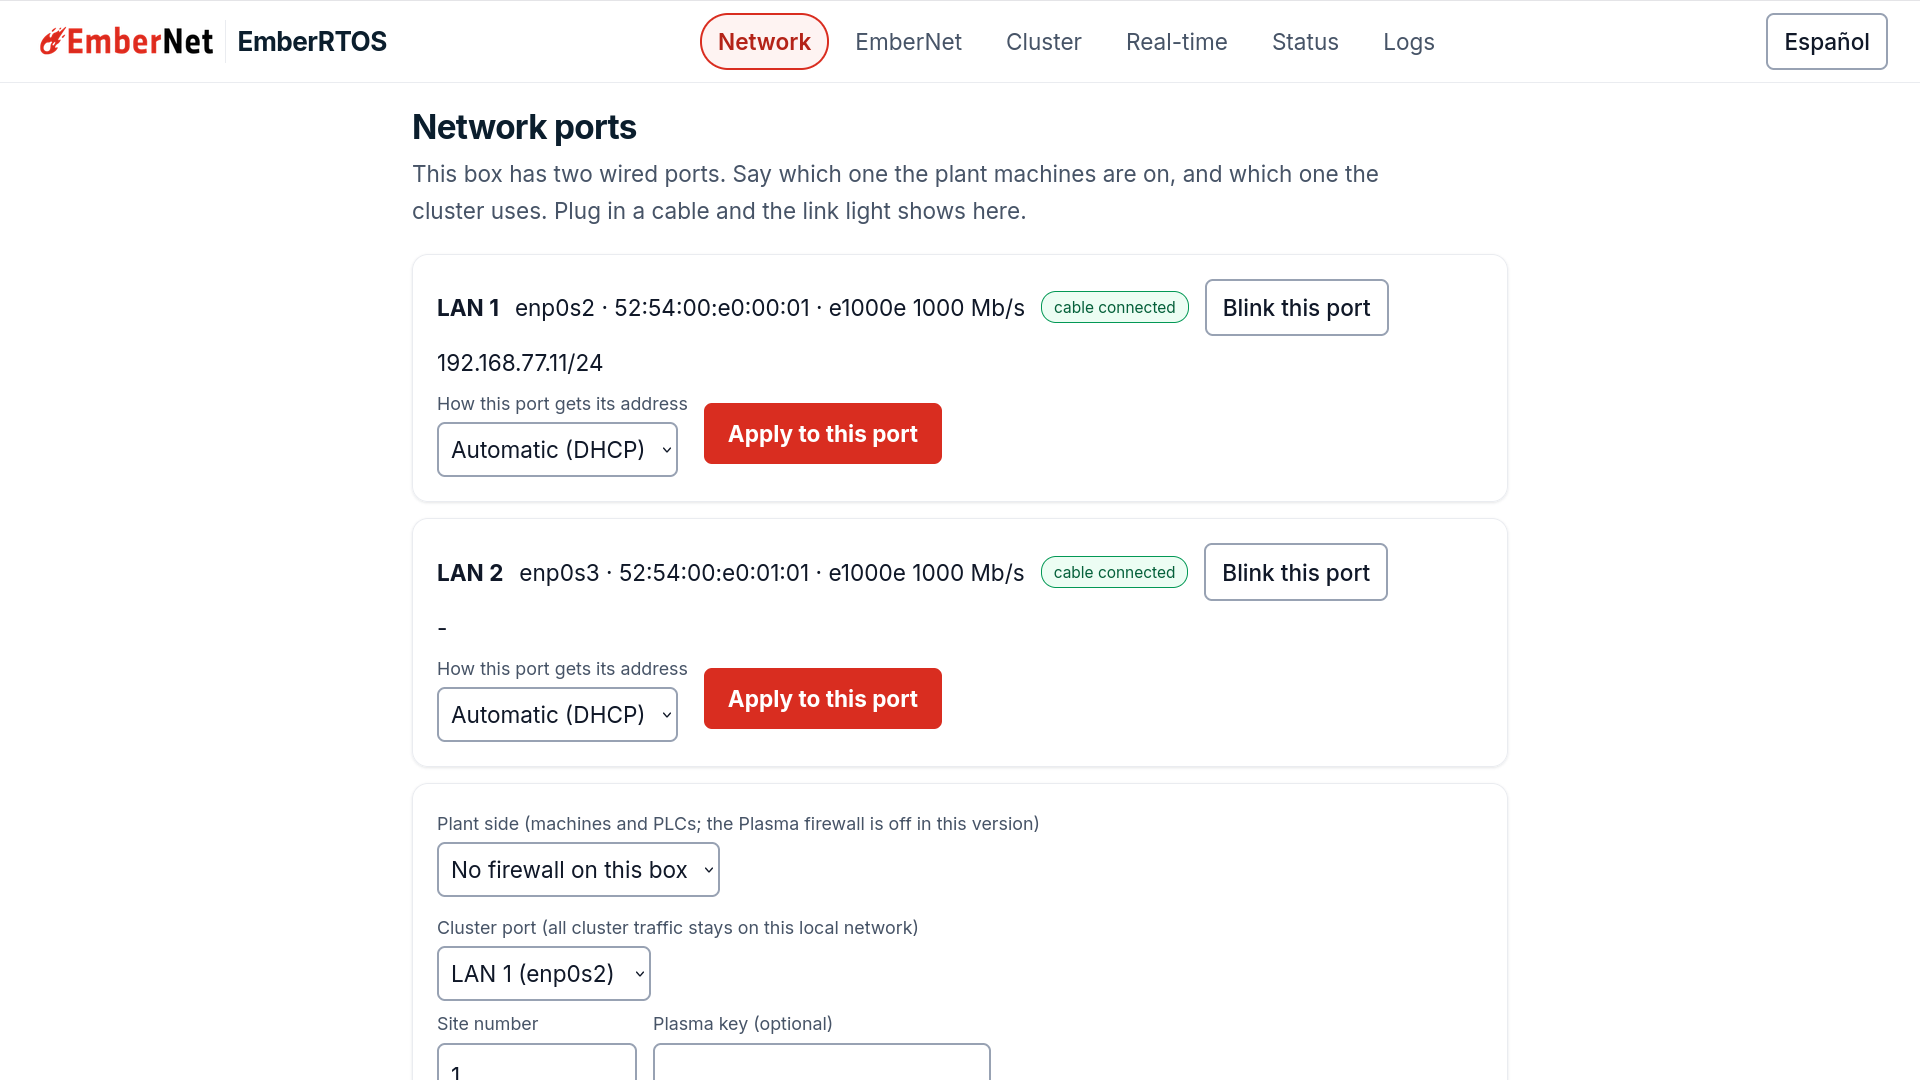
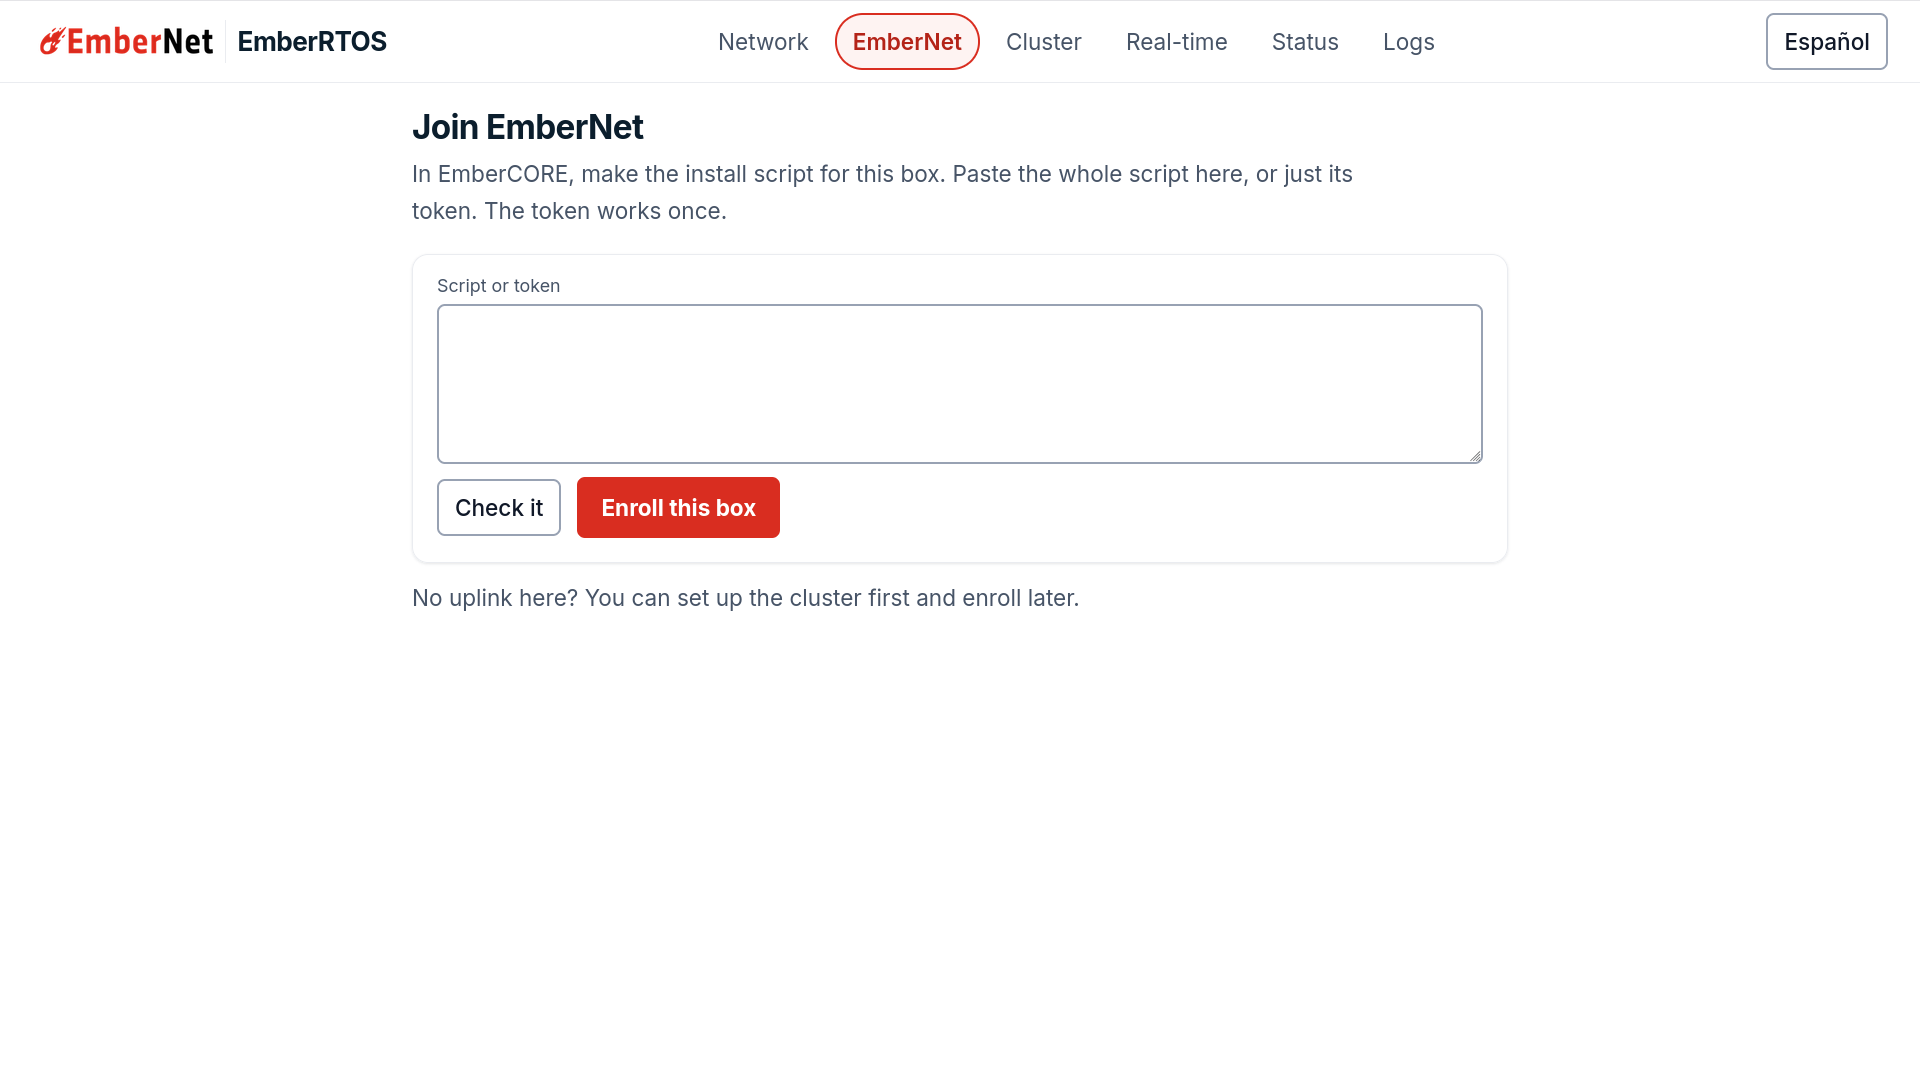
Every screen below is a screenshot of the real setup app on a 0.1.5 box (0.1.9's setup app adds the Screen setting and a DNS setting on the network page): Headless RT installed from its ISO in a UEFI virtual machine at 1920 by 1080, and Headless for the one screen that differs.
Network
The Network screen lists each wired port with its link state, MAC address, driver, and speed. Plug in a cable and the link indicator updates. Blink this port flashes the port's light so you can tell which physical socket is which.
Say which port the cluster uses and which port the plant machines are on. For each port you can choose a fixed address or DHCP, then set the address, prefix length, gateway, and DNS servers, and Apply to this port.
EmberNet
In EmberCORE, make the install script for this box. Paste the whole script into the EmberNet screen, or just its token, and choose Enroll this box. Check it reads what you pasted and shows which tenant the token is for, before you enroll. The token works once.
If the box has no uplink yet, you can set up the cluster first and enroll later.
Cluster
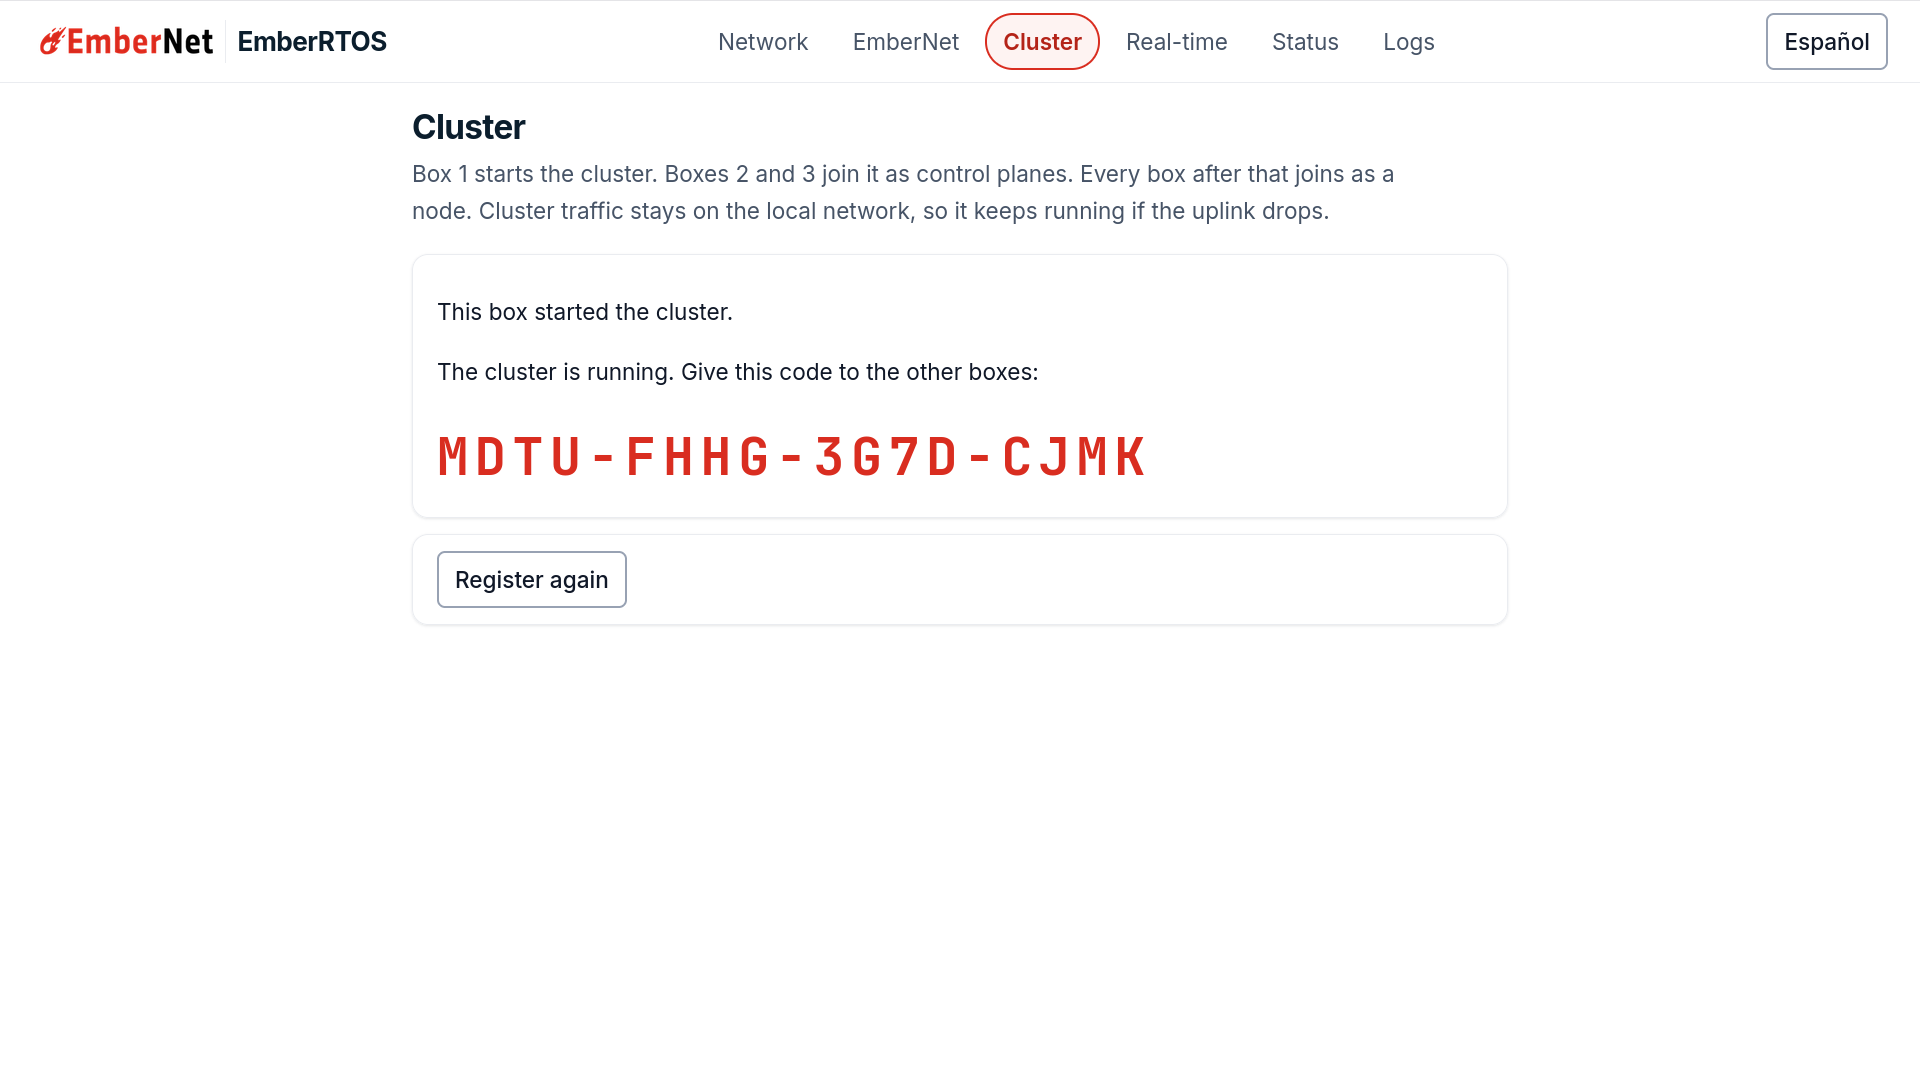
The first box starts the cluster. The second and third boxes join it as control planes, and every box after that joins as a node. Cluster traffic stays on the local network.
When the first box starts the cluster, the screen shows a join code. On each of the other boxes, choose Join as control plane or Join as a node, enter the join code from box 1, and either type box 1's address or let the box Search the network for it.
Real-time
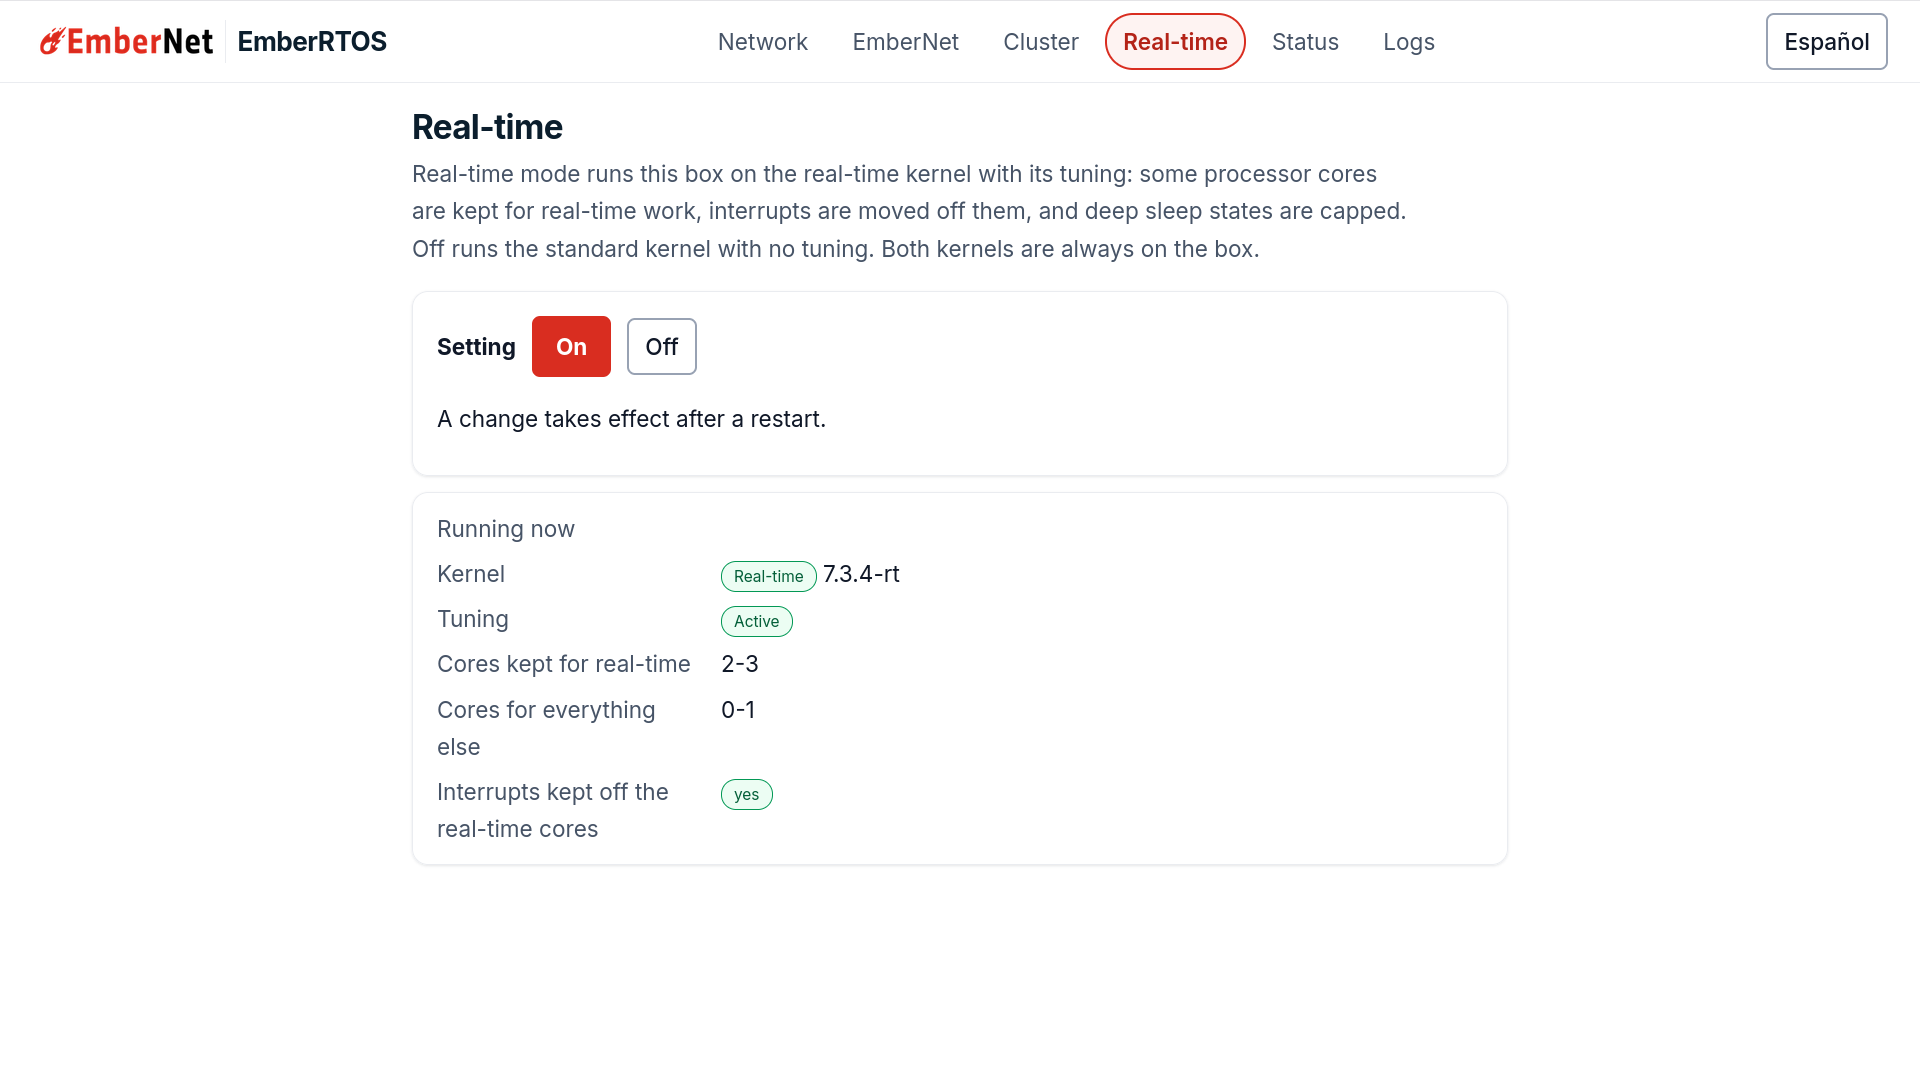
This screen is on Headless RT only. The Real-time screen switches the box between its two kernels. On runs the real-time kernel with its tuning: some processor cores are kept for real-time work, interrupts are moved off them, and deep sleep states are capped. Off runs the general-purpose kernel with no tuning. Both kernels are always on the box, and a change takes effect after a restart.
The screen also shows what is running right now: the kernel, whether the tuning is active, which cores are kept for real-time work, which cores are left for everything else, and whether interrupts are kept off the real-time cores. While a change is waiting for a restart, a banner across the top of every screen says so, and Restart now applies it. On a cluster, control planes restart one at a time, and a box will not restart while another node is not Ready.
See EmberRTOS Headless RT for what the two modes mean for your workload.
Status
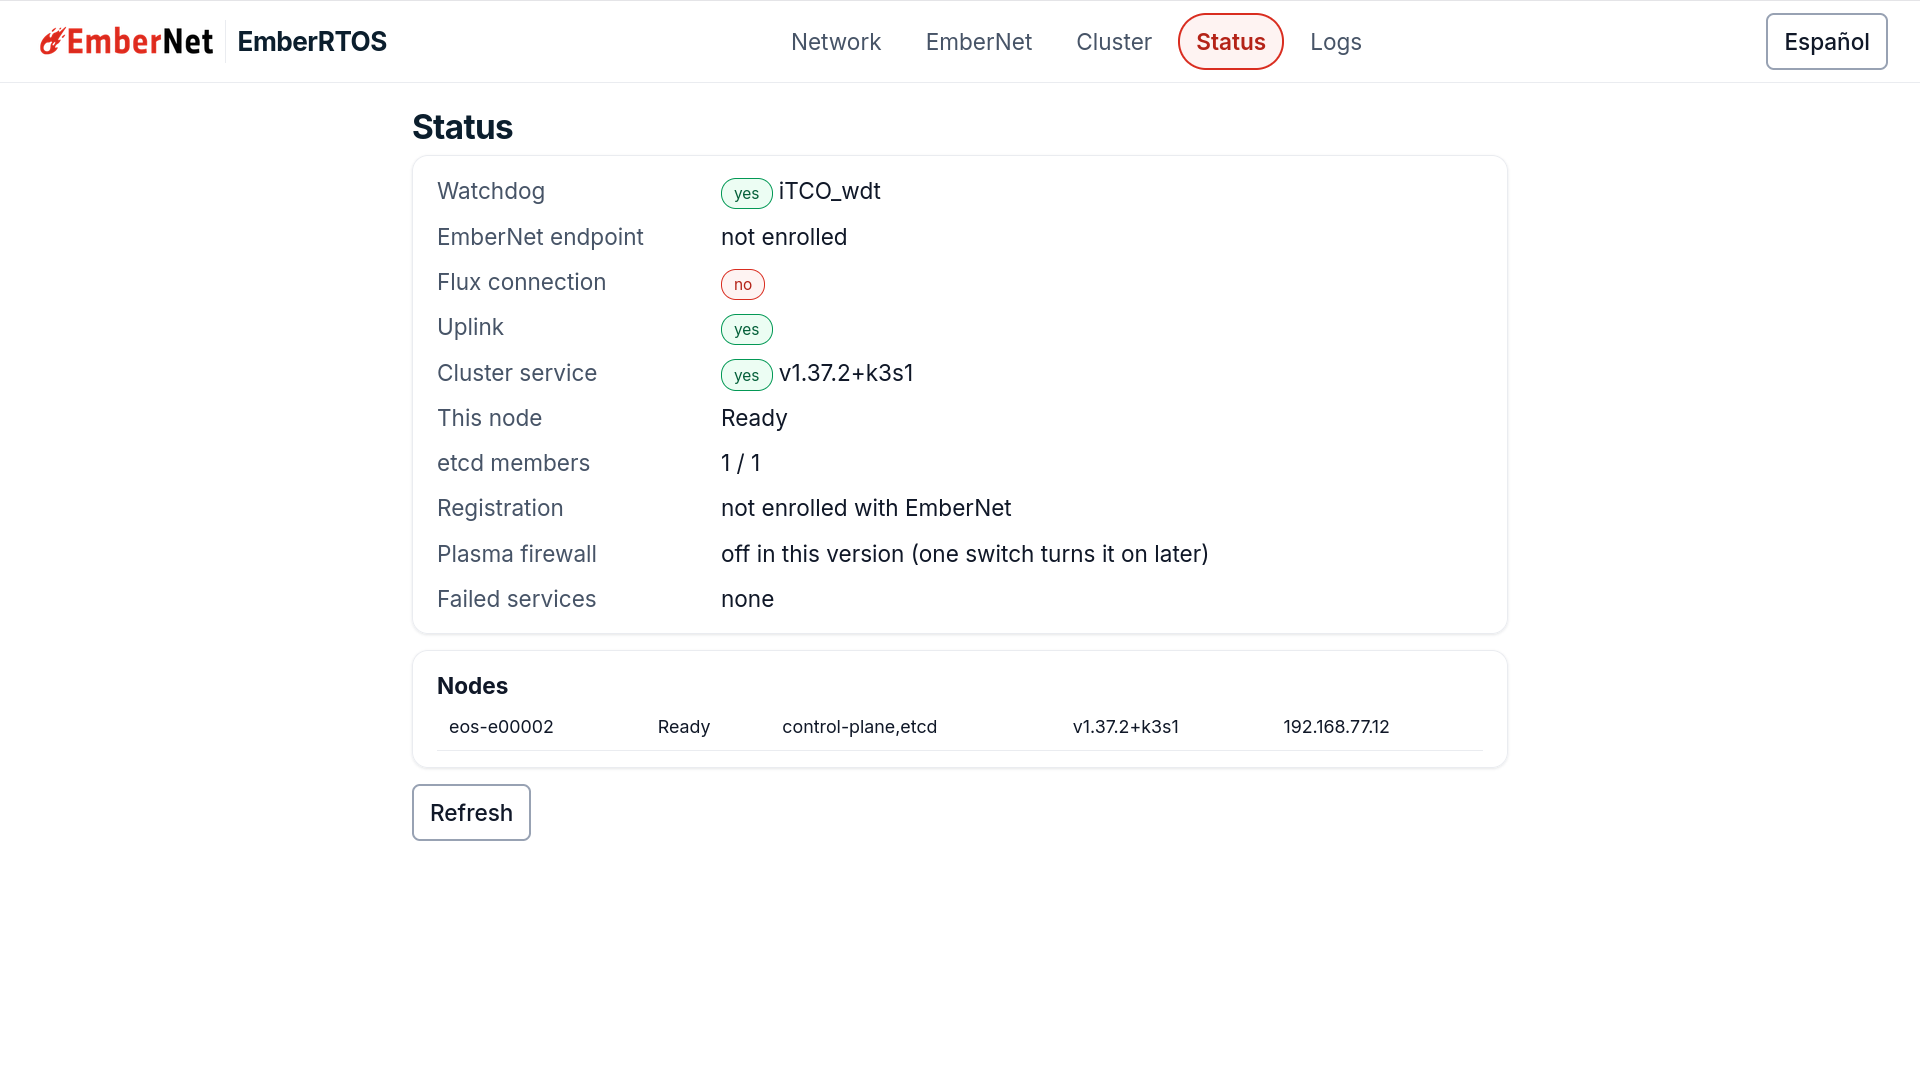
The Status screen is the live picture of the box. Every row is read from the machine when you open the screen, not cached.
| Row | What it tells you |
|---|---|
| Real-time kernel | Whether the node booted the real-time kernel, and the kernel release (Headless RT only) |
| Tuning | Whether the real-time tuning is active, and which cores are kept for real-time work (Headless RT only) |
| Watchdog | Whether the hardware watchdog is present, and its driver |
| EmberNet endpoint | Whether the box is enrolled |
| Flux connection | Whether the endpoint has a Flux connection |
| Uplink | Whether the box can reach EmberNet |
| Cluster service | Whether the cluster service is running, and its version |
| This node | Whether the node is Ready |
| etcd members | How many control planes are in the cluster |
| Registration | Whether the cluster is registered with EmberNet. A box that was never enrolled says "not enrolled with EmberNet", and starting its cluster does not turn that red |
| Plasma firewall | Whether the Plasma firewall is on |
| Failed services | Any systemd unit that has failed |
The Nodes list shows each node in the cluster with its status, roles, version, and address.
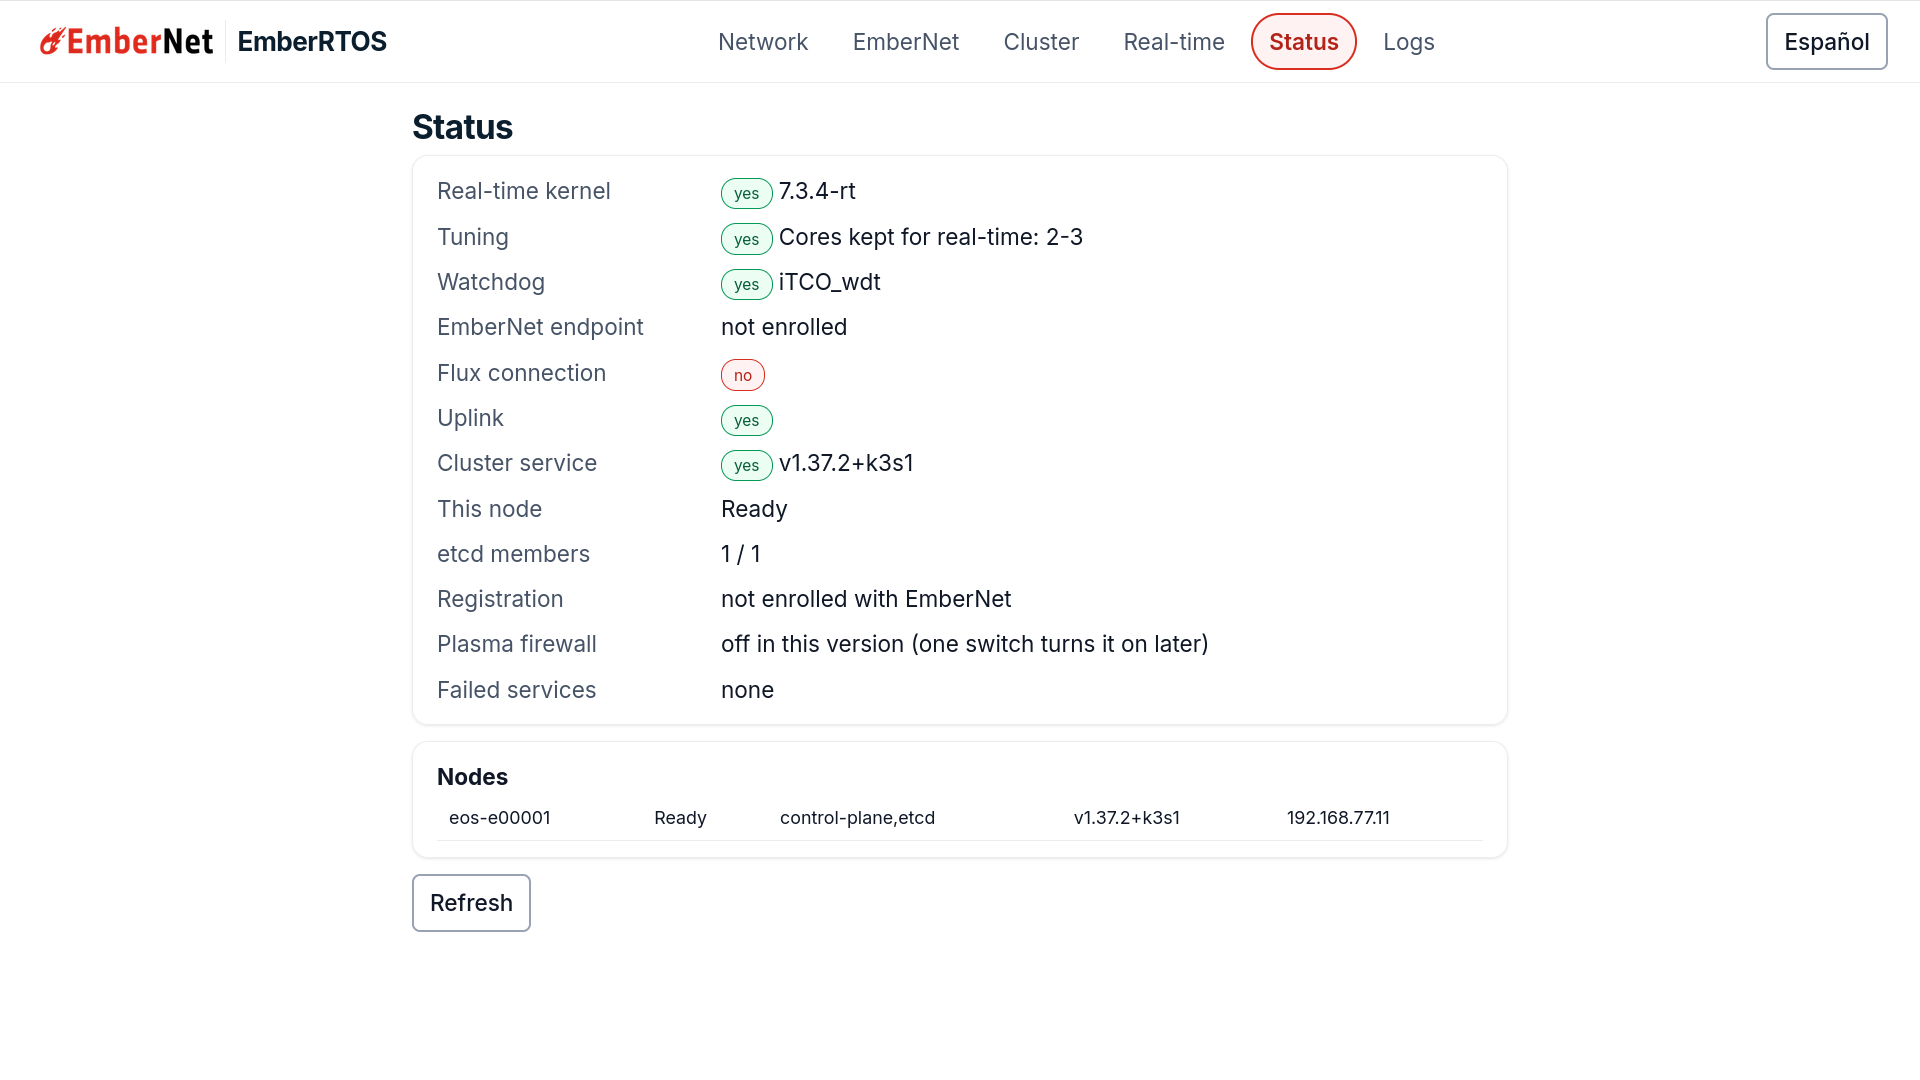
This box has started a cluster but is not enrolled in EmberNet yet, so the EmberNet endpoint, Flux connection, and registration rows say so. They turn green after you enroll the box with an EmberCORE script. The watchdog row reads yes because the virtual machine emulates one. The same screen in Spanish:
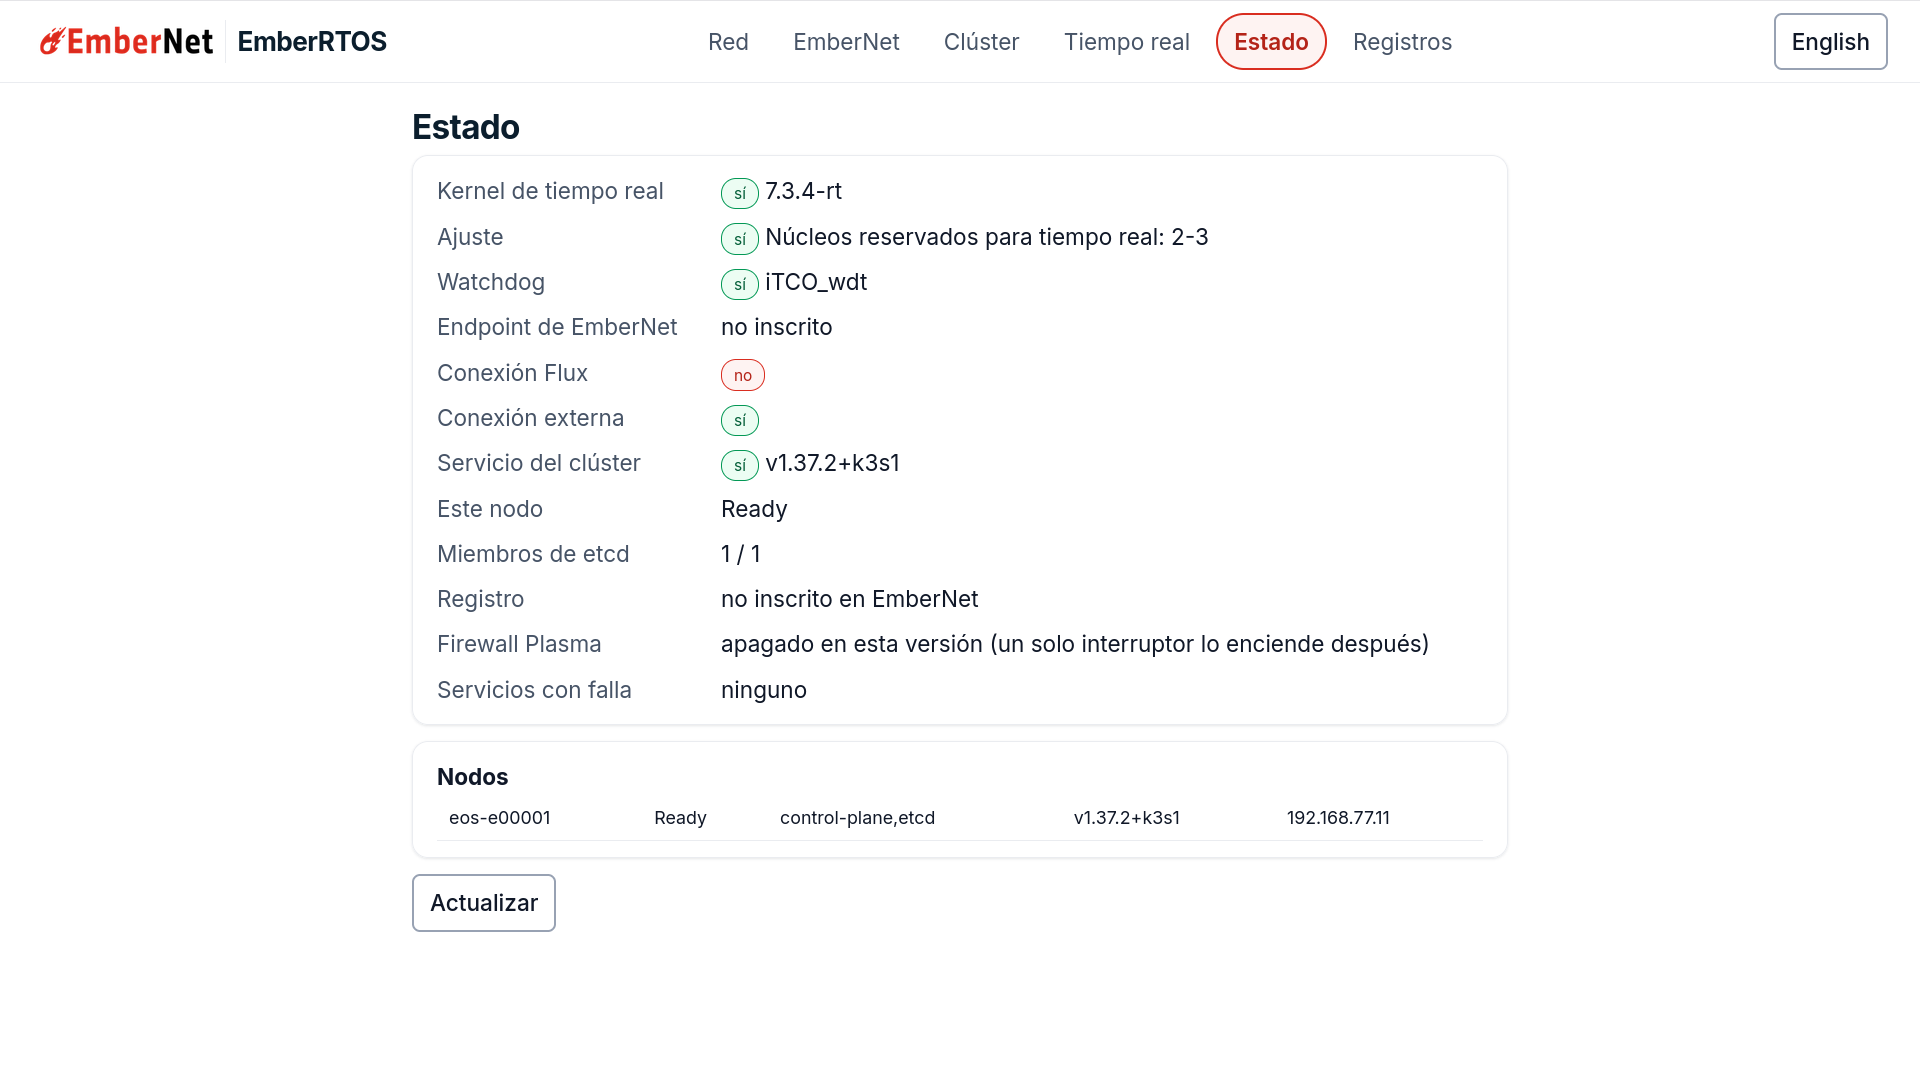
The Plasma firewall ships off in this version, and the Status screen says so. One switch turns it on later.
On Headless and Desktop the two real-time rows are not there:
Logs
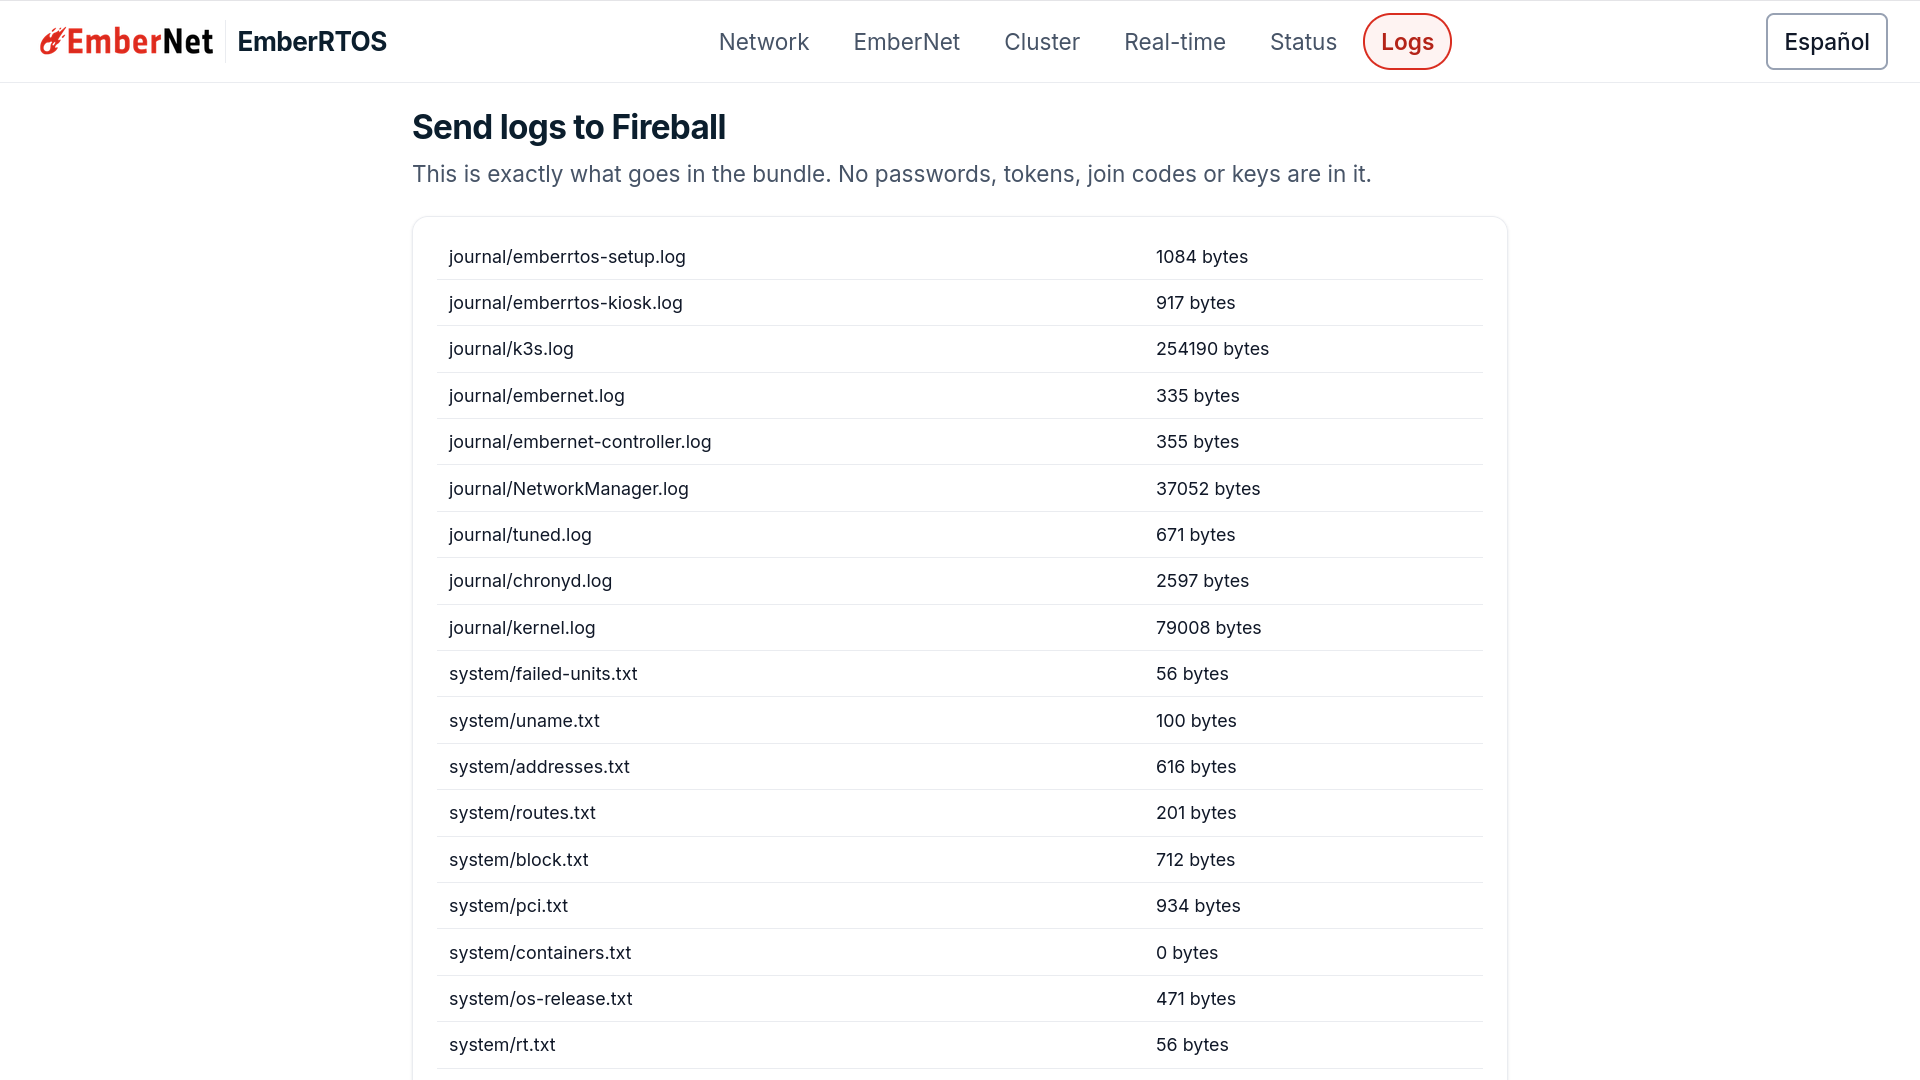
The Logs screen builds a bundle to send to Fireball when you need help. It lists exactly what goes in the bundle, file by file, and no passwords, tokens, join codes, or keys are in it.
Ports
A box listens on very little. The setup app answers only on the machine itself, so nothing on the network can reach it, and the first box of a cluster briefly listens for other boxes that prove they know the join code.
EmberNet itself needs no inbound port. The endpoint connects out to Flux over outbound HTTPS on port 443.
What is not supported
- Docker. It is not installed and cannot be added.
- Legacy BIOS boot. The node image boots in UEFI mode only.
- Secure Boot. It ships off, and the kernel is not signed. Leave it off.
- Booting the root filesystem container. The container image is for inspection and tooling. It has no bootloader, so the install ISO, or on a Raspberry Pi the disk image, is how a box runs EmberRTOS.
- Graphics acceleration under the real-time kernel. The display is drawn without it. The general-purpose kernel in the boot menu has the full graphics driver.
- Booting a Raspberry Pi 5 from NVMe or USB, and any Pi boot from NVMe. See EmberRTOS on the Raspberry Pi.
What runs underneath
The EmberNet endpoint and the Plasma firewall run as containers, and they update themselves from the stable channel. The cluster service runs on the host with everything it needs already on the disk, so a cluster can start with no internet access. The immutable foundation, updates, and rollback work as described in EmberRTOS Headless, and the kernel is covered in EmberRTOS Headless RT.
The setup app listens on the machine's own loopback address only, so nothing on the network can change a box through it. The one network listener is the join listener, which the first box starts and which hands the cluster join credentials only to a box that proves it knows the join code.